How to Read a Cross-Stitch Chart
By The Editorial Team · February 24, 2026
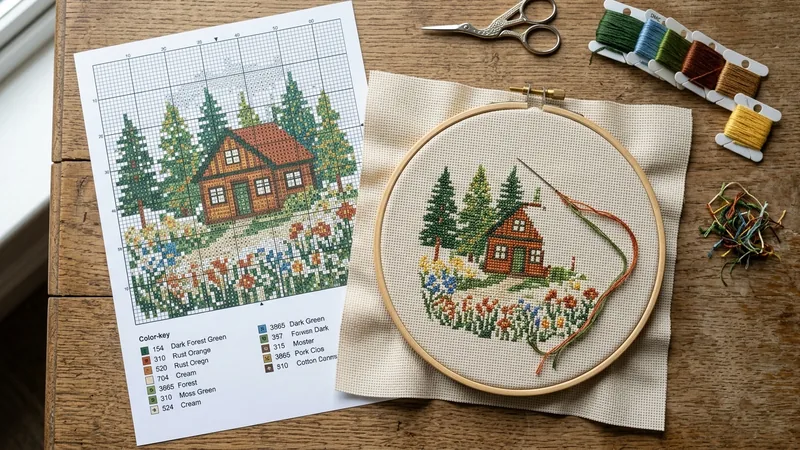
Every cross-stitch pattern is really just a grid of symbols, and once you understand the system, any chart becomes readable.
The Grid
Each square on the chart represents one stitch on your fabric. The chart’s symbols map to thread colors listed in a key, usually alongside DMC color codes.
Finding the Center
Most charts mark the center with arrows on the top, bottom, left, and right edges. Starting from the center and working outward helps keep your design centered on the fabric, especially if you’re not using a hoop.
Full Stitches vs. Partial Stitches
A full square means a full cross stitch. Triangles or half-shaded squares usually indicate half stitches or quarter stitches, used for finer detail like curved edges. Beginner patterns — like the ones marked “Beginner” on our site — stick to full stitches only.
Backstitch Lines
Solid lines drawn over the grid (rather than filled squares) represent backstitch, typically used for outlines and fine details like facial features or lettering. It’s usually the last step after the cross stitches are complete.
Practice Makes It Automatic
The first chart always takes the longest to read. By your second or third project, you’ll find yourself scanning symbols without thinking about it.
This grid-and-symbol system is the same one behind pixel-art style patterns — see our guide to pixel art cross-stitch if you’re curious how that trend uses the same charting basics with a bolder, flat-color look. Once reading a chart feels automatic, a design like The Wee Celtic Druid is a good next test — its knotwork hood is dense, repeating linework that really rewards the count-carefully habit this guide is all about.
Join us on Facebook
New free patterns every week, stitching tips, and a place to share what you've made.