How to Cross Stitch for Beginners: Your First Project, Step by Step
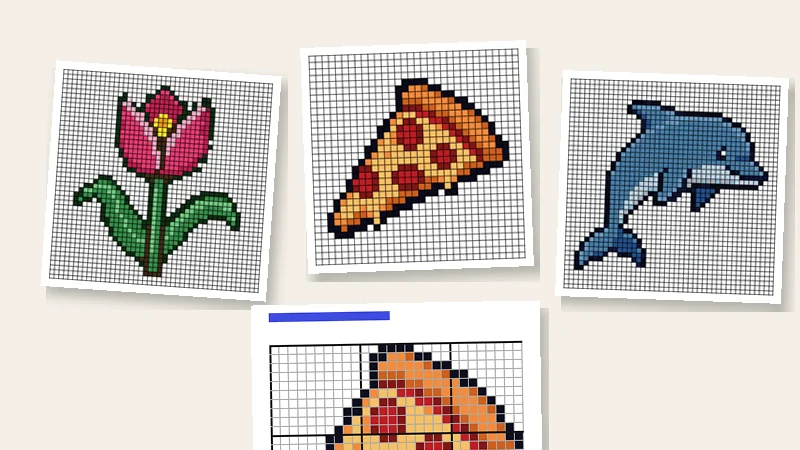
This guide shows you how to cross stitch, step by step, using one small free pattern as the example. You need fabric, thread, a needle and a printed chart. Cross stitch is just one stitch, an X, repeated on fabric that has a grid of holes. If you can count to ten, you can do it.
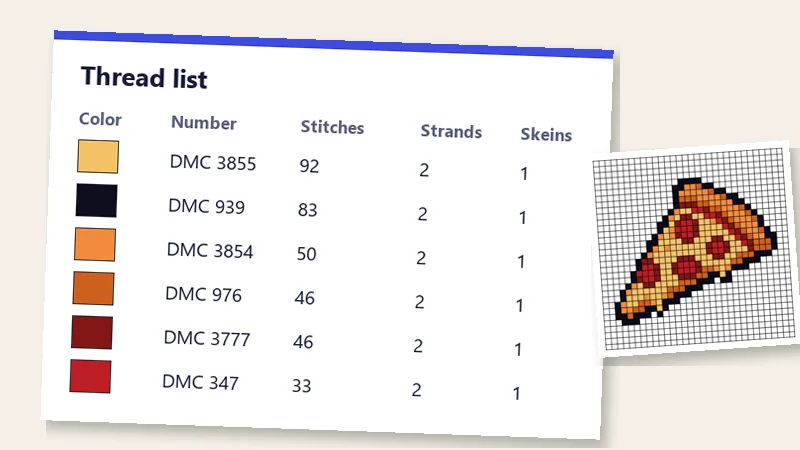
Our example is the Pizza Slice. It’s the smallest pattern on the site: 350 stitches, 6 colors, about 2 inches across. Most people finish it in 4 to 6 hours.
What you need
| Item | What to get | Why |
|---|---|---|
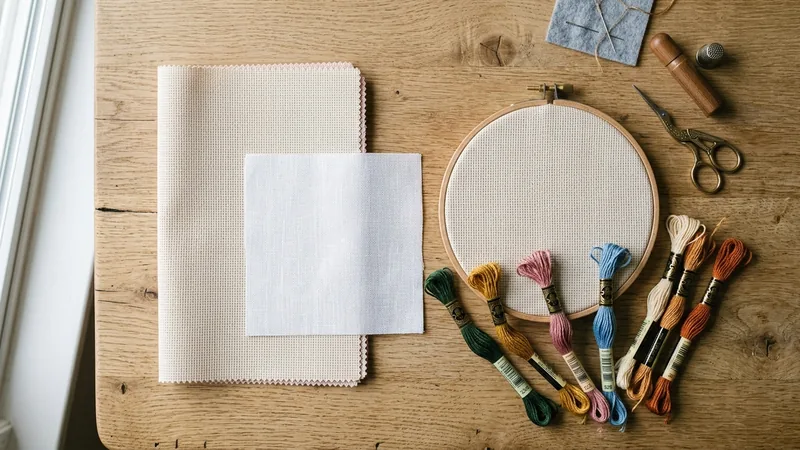
| Fabric | 14-count Aida, white or cream | It has clear holes, so you can see where each stitch goes. “14-count” means 14 squares per inch. |
| Thread | One skein of each color in the pattern’s thread list | The list gives each color’s DMC number. The Pizza Slice needs 6. |
| Needle | Tapestry needle, size 24 | It has a blunt tip that goes through the holes without splitting the fabric. |
| Hoop | 5- or 6-inch embroidery hoop | It keeps the fabric tight so your stitches are even. Optional for very small designs. |
| Scissors | Small and sharp | For cutting thread close to the fabric. |
| Chart | The free PDF, printed | See how to print a cross stitch pattern. |
How much fabric: take the finished size and add 3 inches on every side. For the Pizza Slice, cut a piece 8 x 8 inches.
Step 1: Find the center
- Fold the fabric in half, then in half again.
- The corner where the folds meet is the center. Mark it with a pin.
- On the chart, arrows on the edges point to the center.
Start your first stitch at the center of both. The design will end up in the middle of the fabric.
Step 2: Prepare the thread
Embroidery thread (floss) is made of 6 thin strands twisted together. The patterns on this site use 2 strands.
- Cut a piece about 18 inches (45 cm) long. Longer pieces tangle.
- Pull one strand straight up out of the bundle. Then pull out a second one.
- Put the two strands together side by side.
Step 3: Start without a knot
Knots make lumps that show when the piece is framed. Use one of these instead:
- Loop start: take one strand twice as long (36 inches). Fold it in half and thread both ends through the needle, so there is a loop at the other end. Come up through the fabric, go down to make your first half-stitch, then pass the needle through the loop at the back. Pull gently. The thread is now locked.
- Tail start: come up from the back and leave a 1-inch tail. Hold the tail flat behind the fabric and stitch over it with your first 4 or 5 stitches.
Step 4: Make the X
Each square on the chart is one X over one square of fabric.
- Come up at the bottom-left corner of the square. Go down at the top-right. This is the first half: /
- Come up at the bottom-right corner. Go down at the top-left. This is the second half: \
The one rule: the top half of every X must cross in the same direction. If they mix, the finished piece looks patchy.
For a row of the same color: stitch all the first halves along the row (/ / / /). Then come back along the row and make all the second halves (\ \ \ \). It’s faster and neater.
Pull the thread just until it lies flat. If you pull harder, the fabric puckers.
Step 5: Follow the chart
- Start at the center and work outward.
- Do one color at a time in each area.
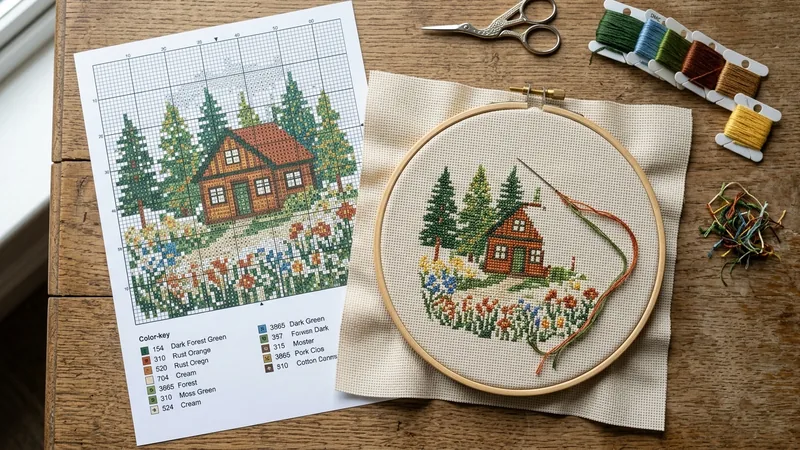
- Count from the bold lines. On the chart, every 10th line is bold. Count “ten, plus three” instead of thirteen single squares.
- Don’t jump far on the back. If the next stitch of the same color is more than 3 squares away, finish the thread and start again. Long threads on the back show through white fabric.
- Mark what you’ve done. Color over finished squares on your printed chart with a highlighter.
Step 6: Finish a thread
When you have about 3 inches of thread left:
- Turn the work over.
- Slide the needle under the backs of 4 or 5 stitches you’ve already made.
- Cut the thread close.
When the whole design is done, wash it gently by hand if it’s dirty. Then press it face down on a towel, so the stitches don’t get flattened.
Common beginner mistakes
| Mistake | How to avoid it |
|---|---|
| Counting one square wrong | Count twice, stitch once. Check your place at every bold line. |
| Thread twisting and knotting | Every few stitches, let the needle hang down so the thread untwists. |
| Top stitches crossing different ways | Keep the hoop the same way up while you stitch. |
| A stitch in the wrong place | Slide the needle under it, pull it out gently and stitch it again. Aida holes go back to normal. |
Questions
How long does a first project take? The Pizza Slice takes most people 4 to 6 hours. A steady pace is 60 to 100 stitches an hour.
Do I need a hoop? For a design as small as the Pizza Slice, no. For anything over about 3 inches, a hoop makes the stitches more even.
How many strands of thread do I use? Two, for every pattern on this site. The thread list in each PDF says so. The cross stitch thread guide explains strands and skeins.
What should I stitch second? The Leaping Dolphin: 642 stitches, 10 colors. Almost half of it is one blue (DMC 518), so you get long rows to practice. Then try the Crowned Seahorse (930 stitches) or the Sunflower (1,423 stitches), or anything from the beginner patterns or the small and mini patterns.
Where can I learn more? Read how to read a cross stitch pattern to understand the chart, and the cross stitch fabric guide before you buy fabric for a bigger design.
Join us on Facebook
New free patterns every week, stitching tips, and a place to share what you've made.